How to Paint Weatherboards


Weatherboards are a classic feature of many homes, but keeping them looking fresh requires the right preparation and painting tools. Whether you are repainting old timber weatherboards or giving your home a fresh new look, proper preparation is the key to a longer-lasting finish.

A harsh climate can be tough on exterior paint. Sun, rain, humidity and coastal salt can all wear down painted surfaces over time. That is why cleaning, sanding, and using quality painting tools is just as important as choosing the right paint.

In this guide, we will show you how to paint weatherboards step by step and explain which Monarch tools can help you achieve a smoother, more professional finish.

What You Need to Paint Weatherboards

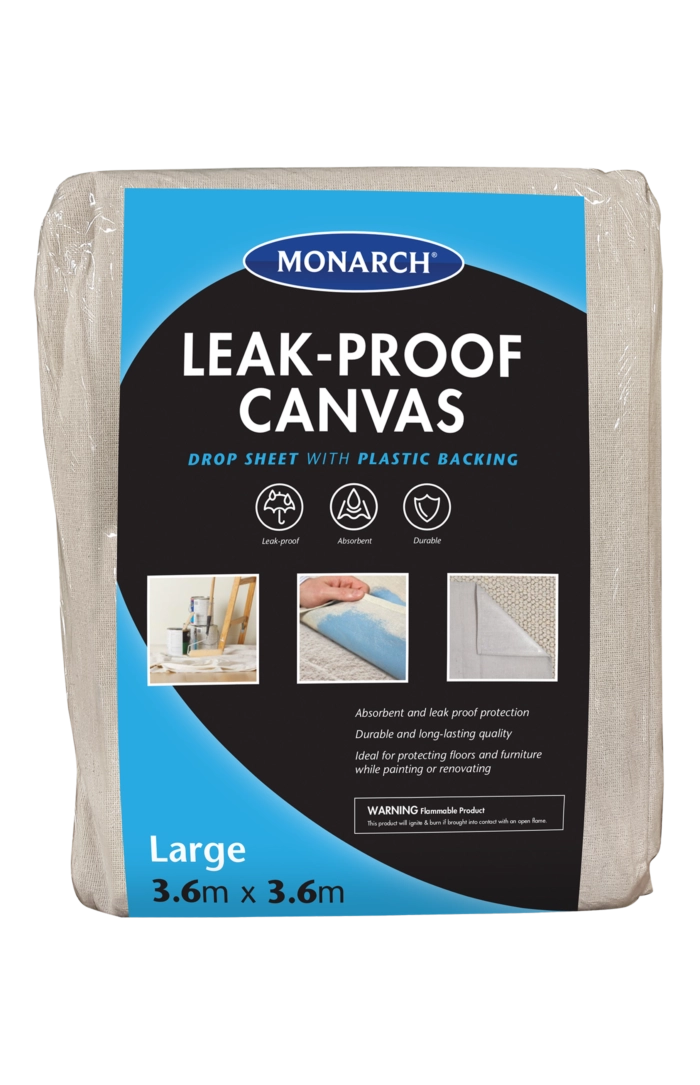
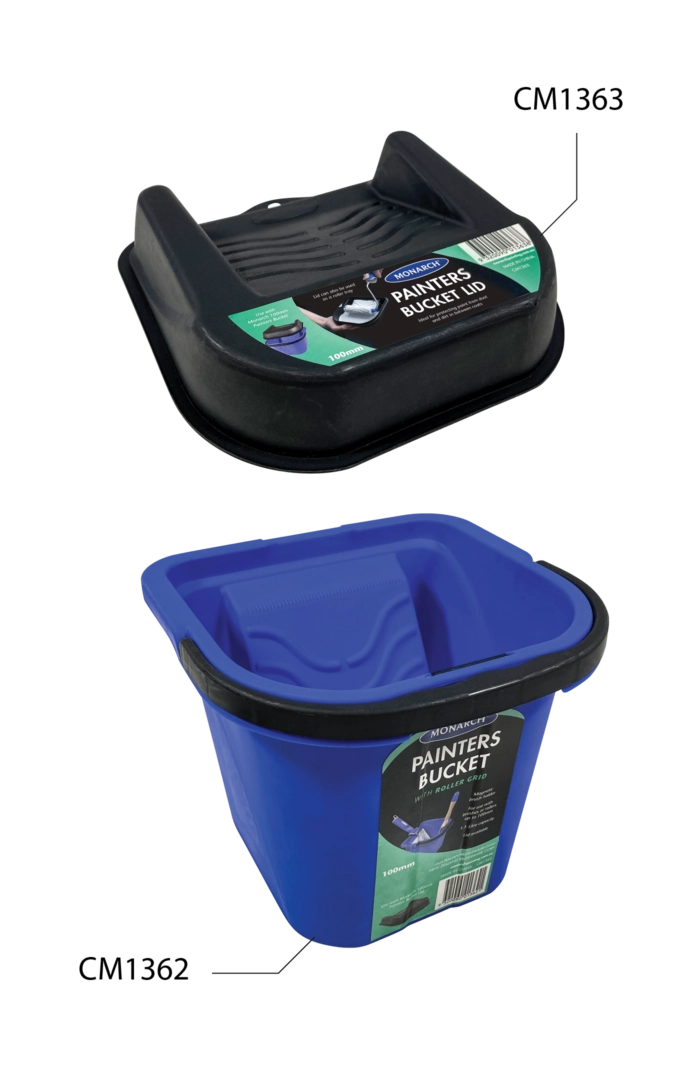
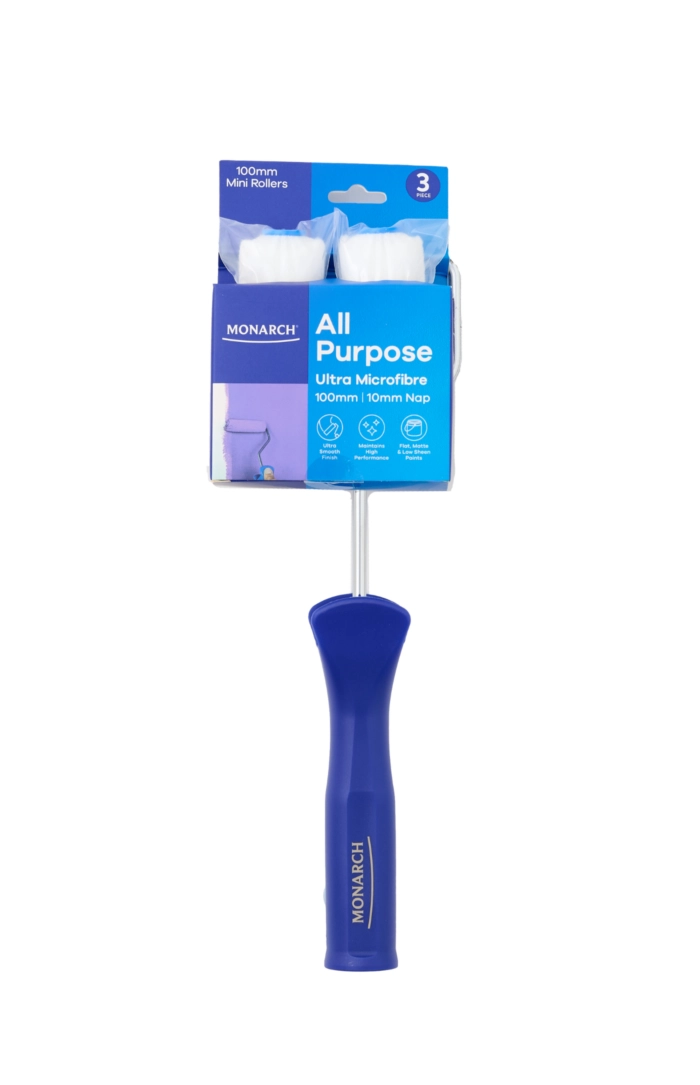
Before you begin, gather all your tools and materials so the project runs smoothly from start to finish. Using premium painting accessories helps improve coverage, control and the quality of the finish.

Step-by-Step Guide to Painting Weatherboards

Step 1: Check the Weather Before You Start

Choose a dry day with mild temperatures and low wind for the best painting conditions.

Avoid painting when:

  • Rain is expected within 24 hours
  • Timber feels damp
  • Surfaces are in direct hot sun
  • Temperatures are extremely hot or cold

Painting in direct sunlight can cause paint to dry too quickly, leading to uneven coverage and visible lap marks. Early morning or late afternoon is usually the best time to paint weatherboards.

Step 2: Clean the Weatherboards

Clean weatherboards help paint adhere properly and improve the final finish.

To clean weatherboards:

  • Brush away dirt and cobwebs
  • Wash the surface using sugar soap or an exterior cleaner
  • Rinse thoroughly with clean water
  • Allow the boards to dry completely

Step 3: Scrape Loose or Flaking Paint

If you are repainting weatherboards, remove any loose or peeling paint before sanding or priming.

Use a quality paint scraper to:

  • Remove peeling paint
  • Smooth rough transitions
  • Prepare damaged areas for sanding

Taking the time to scrape can help prevent new paint from lifting later.

Step 4: Sand the Surface Smooth

Sanding helps exterior paint bond properly and creates a smoother surface for painting.

Focus on:

  • Rough edges
  • Glossy old paint
  • Filled repairs
  • Bare timber areas

Step 5: Fill Gaps and Repair Damaged Boards

Before painting, repair any cracks, holes or damaged weatherboards.

Check for:

  • Rotten timber
  • Cracks and splits
  • Loose nails
  • Gaps around trims and joins

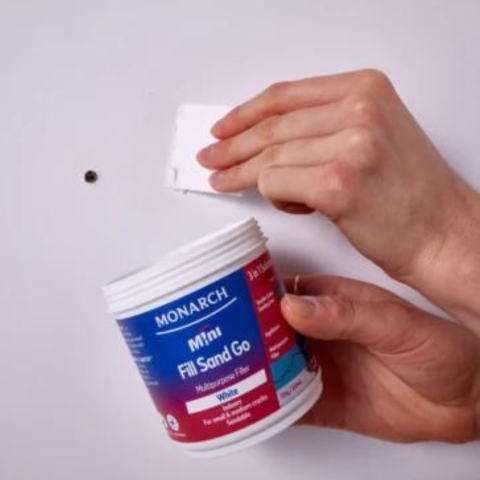
Use an exterior-grade filler for small repairs and replace badly damaged boards where needed. Allow repairs to dry fully before sanding the surface smooth.

Step 6: Prime Bare Timber or Patched Areas

Primer improves paint adhesion and helps create a more durable finish on weatherboards.

Prime:

  • Bare timber
  • Sanded patches
  • Filled repairs
  • Exposed timber joins

This step is especially important when repainting weatherboards where old paint has been removed.

Step 7: Cut In Around Edges and Trims

Before using a roller, cut in around windows, corners and trims with a brush.

Tips for cutting in:

  • Follow the direction of the boards
  • Work in manageable sections
  • Maintain a wet edge

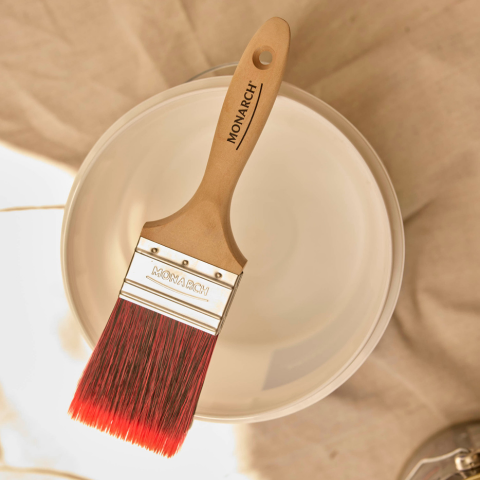
A quality exterior brush helps deliver smoother coverage and cleaner lines.

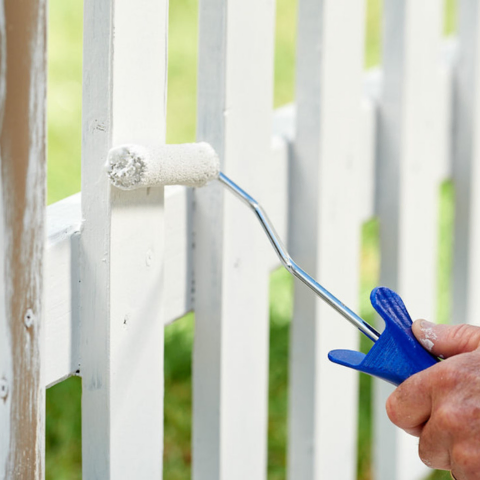
Step 8: Paint the Weatherboards

Once the cutting in is complete, paint the main weatherboard surfaces.

Best technique for painting weatherboards:

  • Work from top to bottom
  • Follow the direction of the boards
  • Paint one section at a time
  • Maintain a wet edge
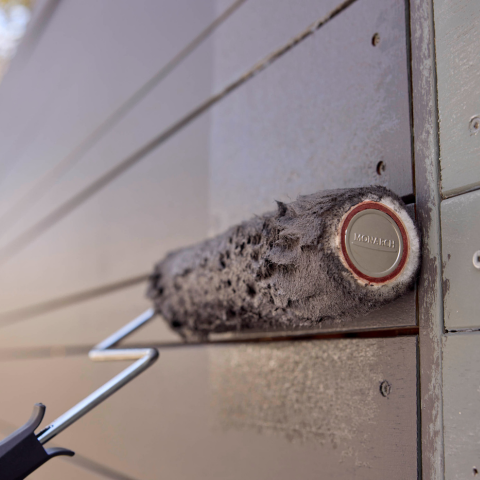
  • Use even pressure with your roller

Step 9: Apply a Second Coat

Most weatherboards need two topcoats for proper coverage and long-term durability.

The second coat helps:

  • Improve colour consistency
  • Increase weather resistance
  • Deliver a smoother finish

Allow the first coat to dry completely before applying the second coat.

Common Mistakes to Avoid When Painting Weatherboards

Even quality exterior paint can fail if preparation is rushed.

Avoid these common mistakes:

  • Painting damp timber - Moisture trapped under paint can cause bubbling and peeling.
  • Skipping sanding - Glossy or rough areas can stop paint from adhering properly.
  • Not using primer - Bare timber and repaired areas need primer for long-lasting adhesion.
  • Painting in direct sunlight - Hot surfaces can dry paint too quickly and leave visible lap marks.
  • Using the wrong painting tools - Low-quality brushes and rollers can leave streaks, loose fibres and uneven coverage.

Choosing quality Monarch painting tools helps improve control, coverage and consistency throughout every stage of the project.

Get Professional Results with Monarch Painting Tools

Painting weatherboards is one of the best ways to refresh the exterior of your home, but preparation and tool choice make all the difference. Monarch’s range of paint brushes, rollers, mini rollers, frames, preparation tools and painting kits are designed to help DIYers paint with confidence and control.

FAQs

How do you prepare weatherboards for painting?

Start by cleaning the weatherboards thoroughly, scraping away loose paint, sanding rough areas, repairing damaged timber and priming any bare surfaces before painting.

Do you need to sand weatherboards before painting?

Yes. Sanding helps smooth rough surfaces and improves paint adhesion, especially when repainting weatherboards.

Can you paint weatherboards with a roller?

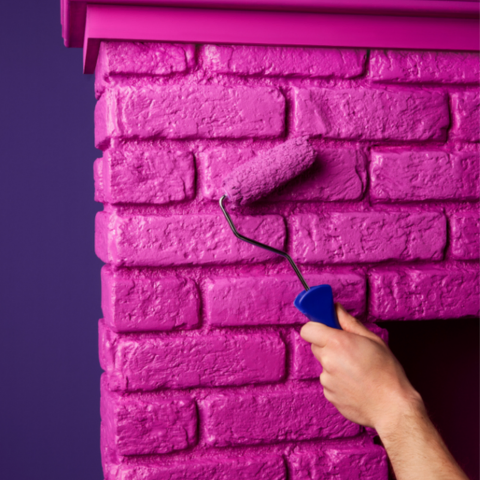
Yes. A roller or mini roller is ideal for covering larger weatherboard surfaces quickly, while a brush helps with detailed areas and board edges.

What brush is best for painting weatherboards?

A quality exterior paint brush provides better control around weatherboard laps, trims and corners.

When is the best time to paint weatherboards?

Dry, mild conditions are ideal. Avoid painting during extreme heat, rain or high humidity.

More How To Tips