


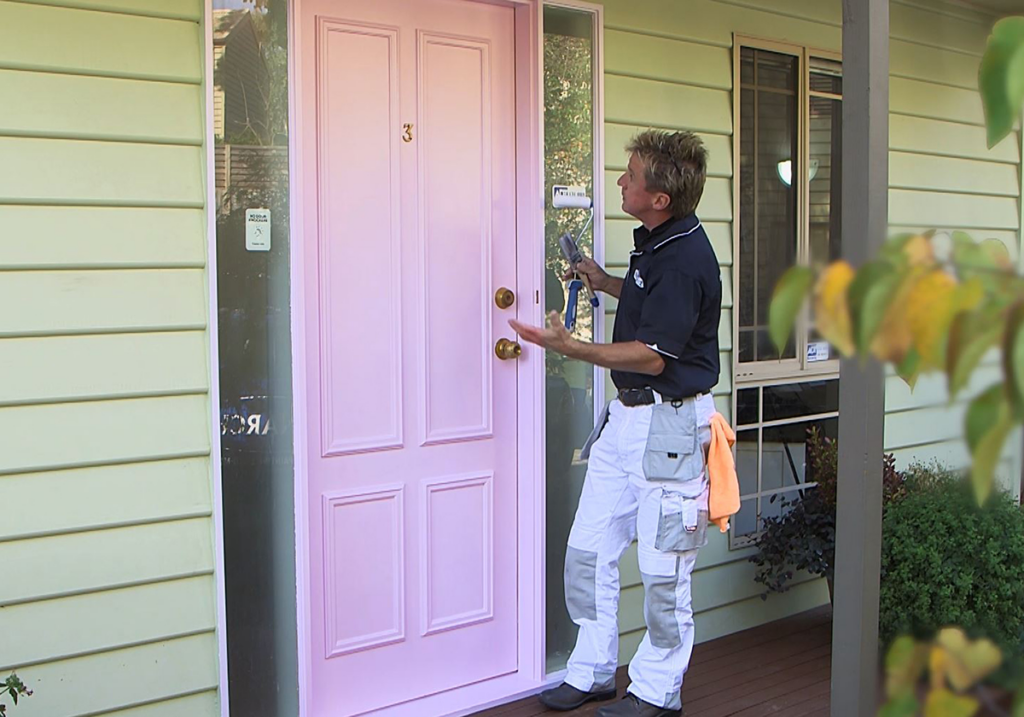
They say the eyes are the window to the soul, and in the same way, entryways can set the tone for a whole room. It only takes 2 Monarch painting accessories to refresh your doors and begin setting the tone before you even enter a room. For this panelled door project, we will be utilising our Cutting in and Framing Brushes or the Walls Doors and Trims Brushes and our handy SmartLock Mini Foam Roller.
If you are painting a flat door we would highly recommend our Doors, Trims & Cupboards Ultra Microfibre Roller that will give you the best coverage and get the job done quickly. Perfect for high sheen surfaces, the 4mm nap holds less paint to achieve an ultra-smooth finish with no stipple.
Step 1: Preparation
First things first, taking a door down is tricky business, so we recommend you leave it up while painting. You will need to remove all handles and fittings, and tape over your hinges to protect them from any paint splatter.
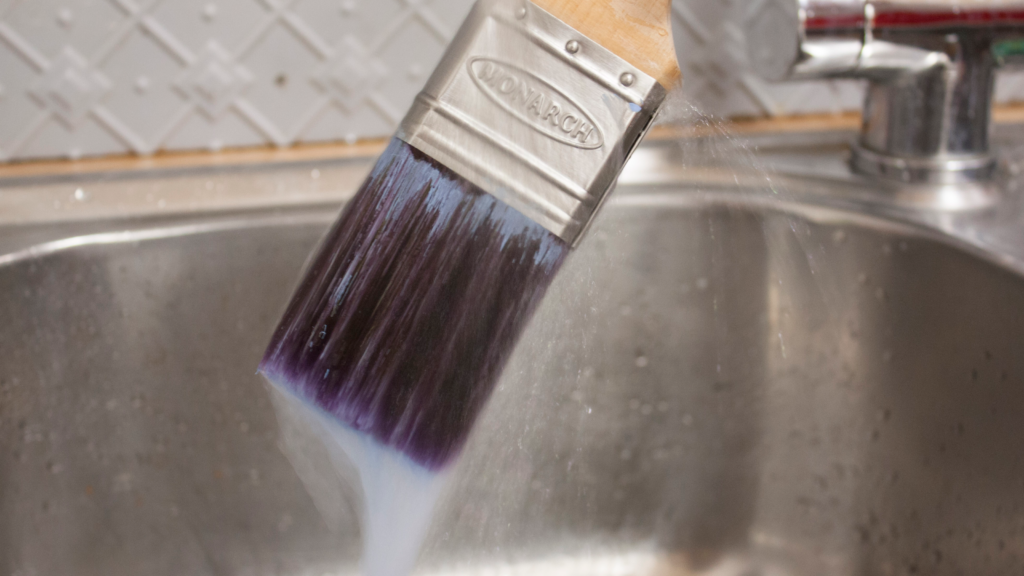
If you’re using water-based paint, soak your brush in an inch of water for 10-15min, then remove and spin the brush out to remove any excess water. If you’re using oil-based paint, follow the same steps but using mineral turps instead of water.
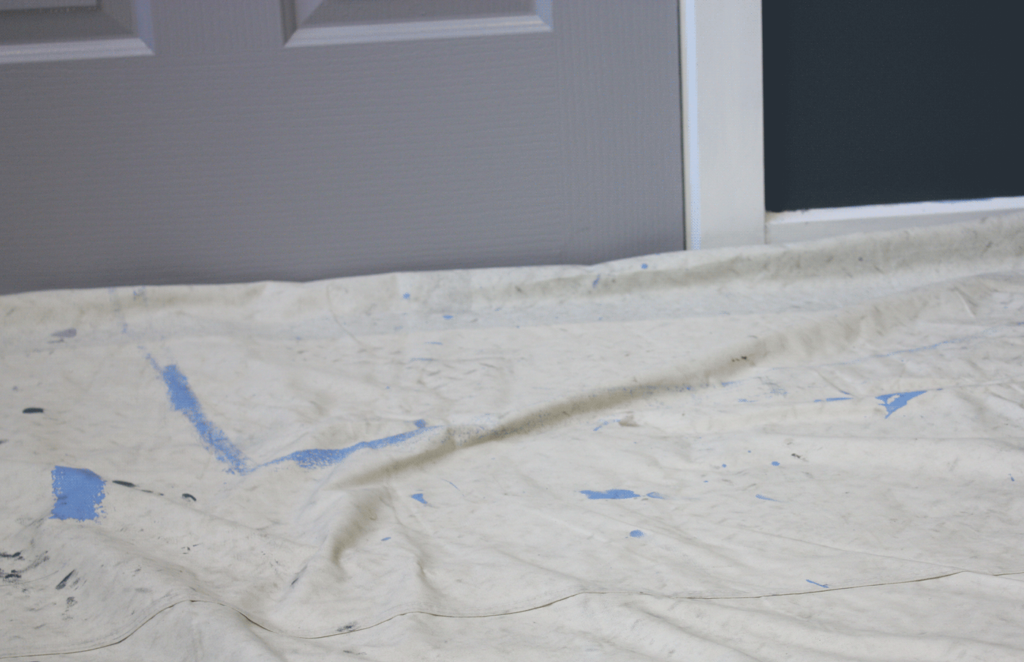
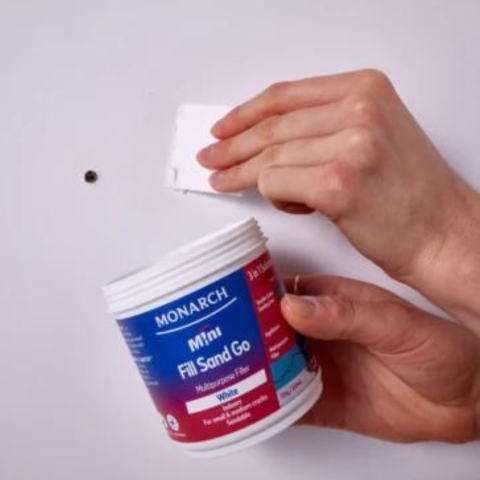
Make sure you put drop sheet under the door to protect your floor. If your door is dirty, start by washing off all stains and dirt marks. Then sand all over to remove the current paint lacquer from the door. This will ensure the new paint adheres properly to the door. Once your surface is smoothed out, wipe it down to remove all traces of dust. Now you’re ready to paint!
Tip: Don’t forget to wash your roller! Any new roller needs to be cleaned prior to use. This prevents pieces of lint from getting in your paint. Spin out your roller on a wall to get rid of any excess water.
Step 2: First Coat
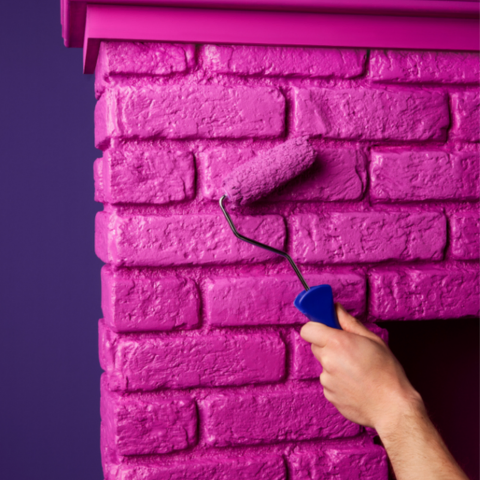
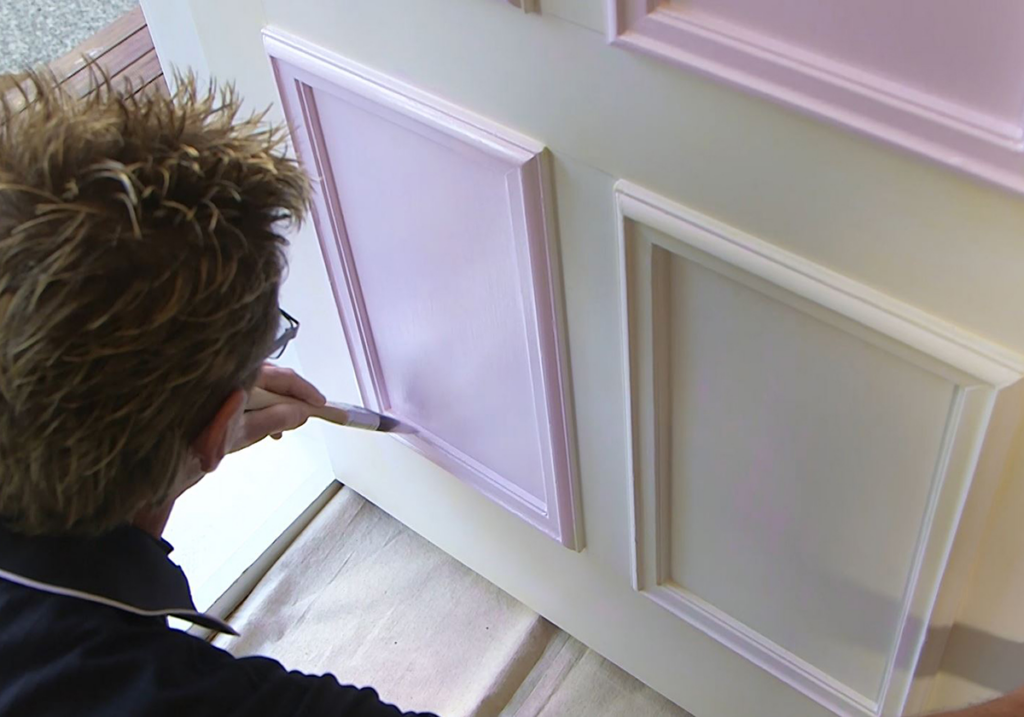
For a panelled door, the first section you want to paint is the bevel or the internal part of your moulding. Be sure to not load your brush with too much paint. If you’ve got too much paint on your brush, some may seep under the masking tape ruining your nice clean edge.
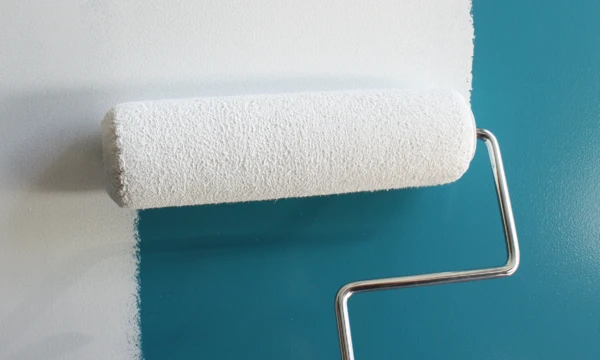
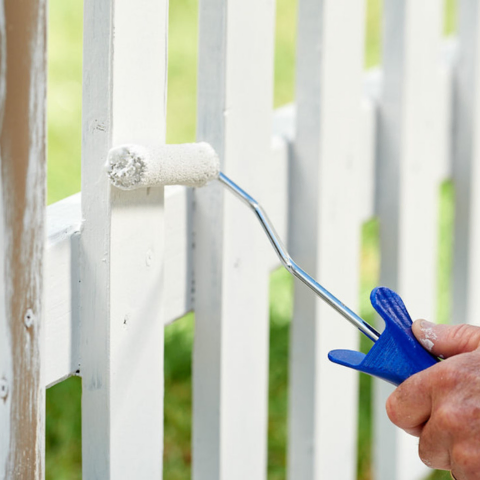
Now you are ready to start painting the panels! Start with the internal panels, then move on to the vertical panels and finish with the horizontal panels, always going along the grain of the wood. If you are using a roller for this project then be sure to tip off for a smooth finish.
Tipping off is achieved when you use a quality brush with minimal paint and make even strokes up and down the whole length of the door to ‘tip off’ for a stipple-free finish.
Don’t forget to paint the door edges. Starting with your door open, paint along all the edges and cut in along one side. Use your brush for this step, and remember to use long, steady strokes as much as possible.
Step 3: Second Coat
When your first coat is completely dry, apply your second coat, depending on the type of paint you are using this could take between 1 hour and 24 hours. Waiting until the paint is completely dry ensures that your second coat won’t pull up your first coat and create bubbles over your paint surface.
Repeat every step of the first coat in the same order to ensure an all over even coat! With an intricate door it’s easy to miss spots on the first coat.
Step 4: Finishing Up
Congratulations, you’re done! If you have any taped areas, gently pull up the tape while your second coat is still tacky. Pour or scrape any leftover paint back into the tin for re-use. Wash your brushes and rollers thoroughly so you can use them for your next project. You can store your roller in its plastic container in between projects.
For more advice on the perfect paint accessory for you project take a look at our product finder tool! For more painting tips and tricks, follow us on Instagram or Facebook.