
 Decided to tidy up the trims around your walls, windows and doors with a fresh coat of paint?
Follow these easy quick steps from Monarch to ensure that you get the best results!
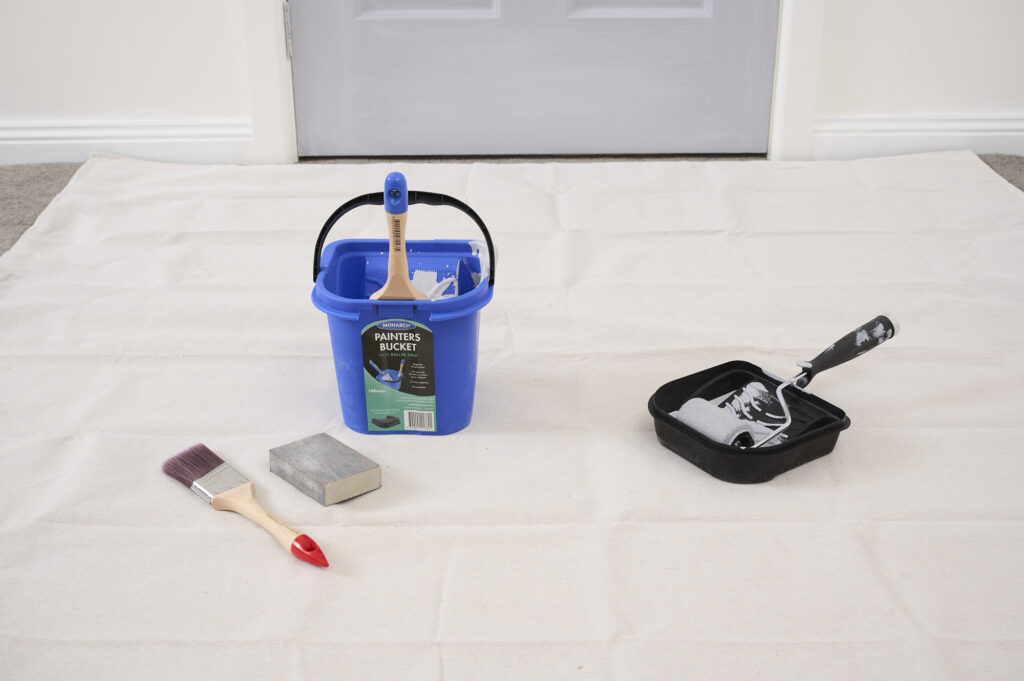
Before you start, make sure to have the below equipment:
Step 1: Prepare the surface
Place your Drop sheets on the floor underneath the surface you’re about to paint. Make sure to have these held in place securely to avoid creating tripping hazards.
Fill any holes or dents with the appropriate filler, you can use our Monarch Mini Fill Sand Go or Monarch Mini Gap Filler to do this. After the filler has dried, be sure to give the surface a light sand until smooth. In addition to evening out the surfaces, sanding adds micro-abrasions to a surface which helps the new paint adhere. Use a clean cloth to wipe away any dust. For an extra clean surface use our Sugar Soap.
Tape the surfaces around the trim. This will help protect surfaces from paint.

Step 2: Prepare your paint
Once you open your tin of paint, make sure to mix it thoroughly. This can be done using a Paint stirrer. Pour some of your paint from the tin into your Paint Bucket. Transferring paint from the tin to your bucket helps reduces the weight and amount of the paint you need to carry around with you.
Quick tip! For water-based paint, soak the brush in 30mm of water for 15 minutes. For oil-based paint, use 30mm of mineral turpentine for 15 minutes. This will help improve the application of paint onto your surface. Carefully spin or shake the brush to remove excess liquid before use.
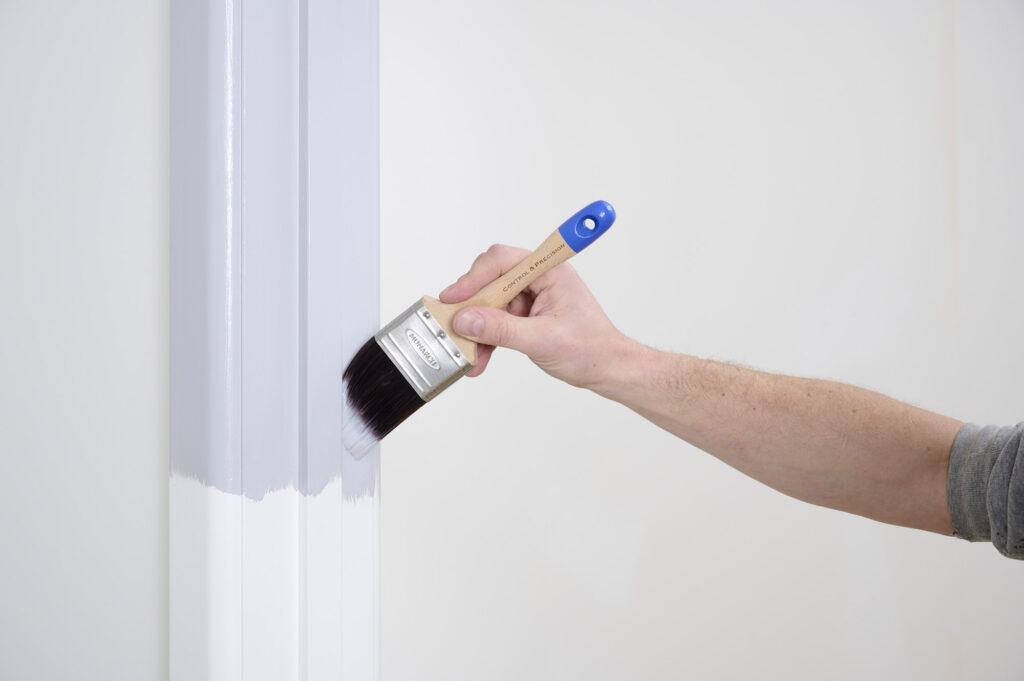
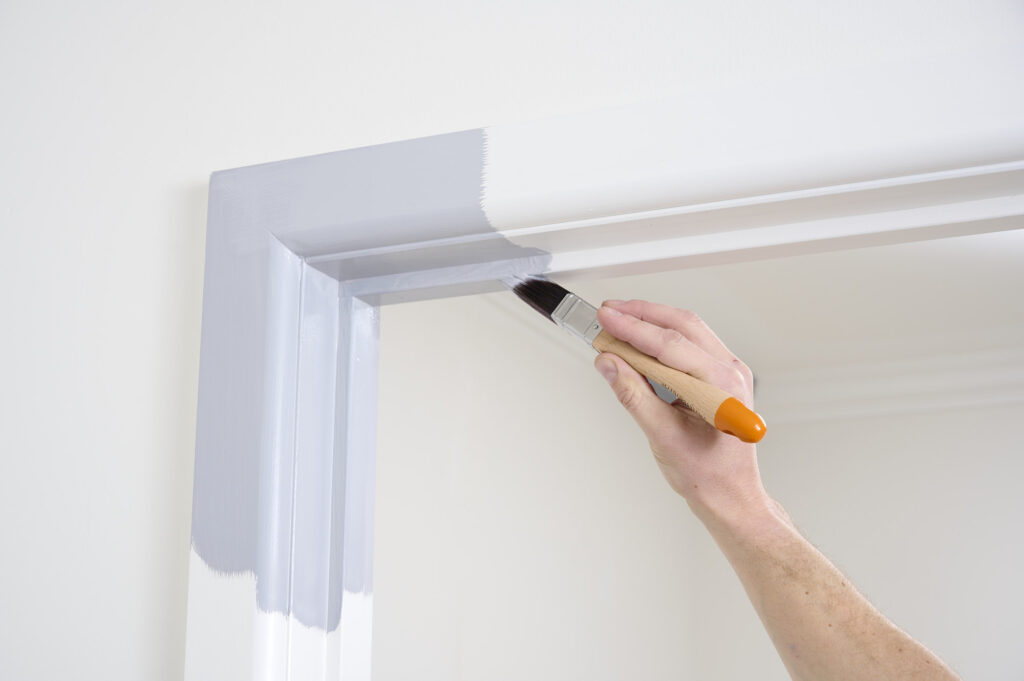
Step 3: Start Painting!
Now the fun part begins! Dip your paintbrush into the paint bucket, being careful not to overload it. To avoid using too much paint, it's best to dip only the first third of the brush into the paint, then tap the brush on the side walls of you bucket to remove any dripping paint. This will leave plenty of paint on your brush for coverage and control. Only scrape on the side of the tin if there is still too much paint.
When painting trims, it is a good idea to start with your edges first, before painting the flat surfaces. This will help to catch any paint that may have leaked over the edges. When painting we would recommend working in sections, making sure to check that each section has an equal amount of paint coverage.
Step 4: Clean up
After you have finished painting your trims, clean your brushes properly to ensure that they can be used for your next project. If a water-based paint was used, wash your brush with warm soapy water until clean. If an oil-based paint was used, wash your brush in the recommended solvent, then rinse clean. Spin or shake out excess liquid. For an additional step, use a Brush Comb to straighten the filament to help maintain brush shape.
For advice on how to select the perfect paint accessory for your next project, take a look at our Painting Tool Kit and discover a bunch of painting tips, tricks and inspiration by following us on Instagram, TikTok and Facebook.