
When Geneva Vanderzeil’s daughter wanted to redecorate her room to be ‘Bluey’ themed, she knew exactly where to start.
Painting timber bunk beds is a fun project that you can get your littles ones involved in this DIY July.
Materials required to complete this DIY project
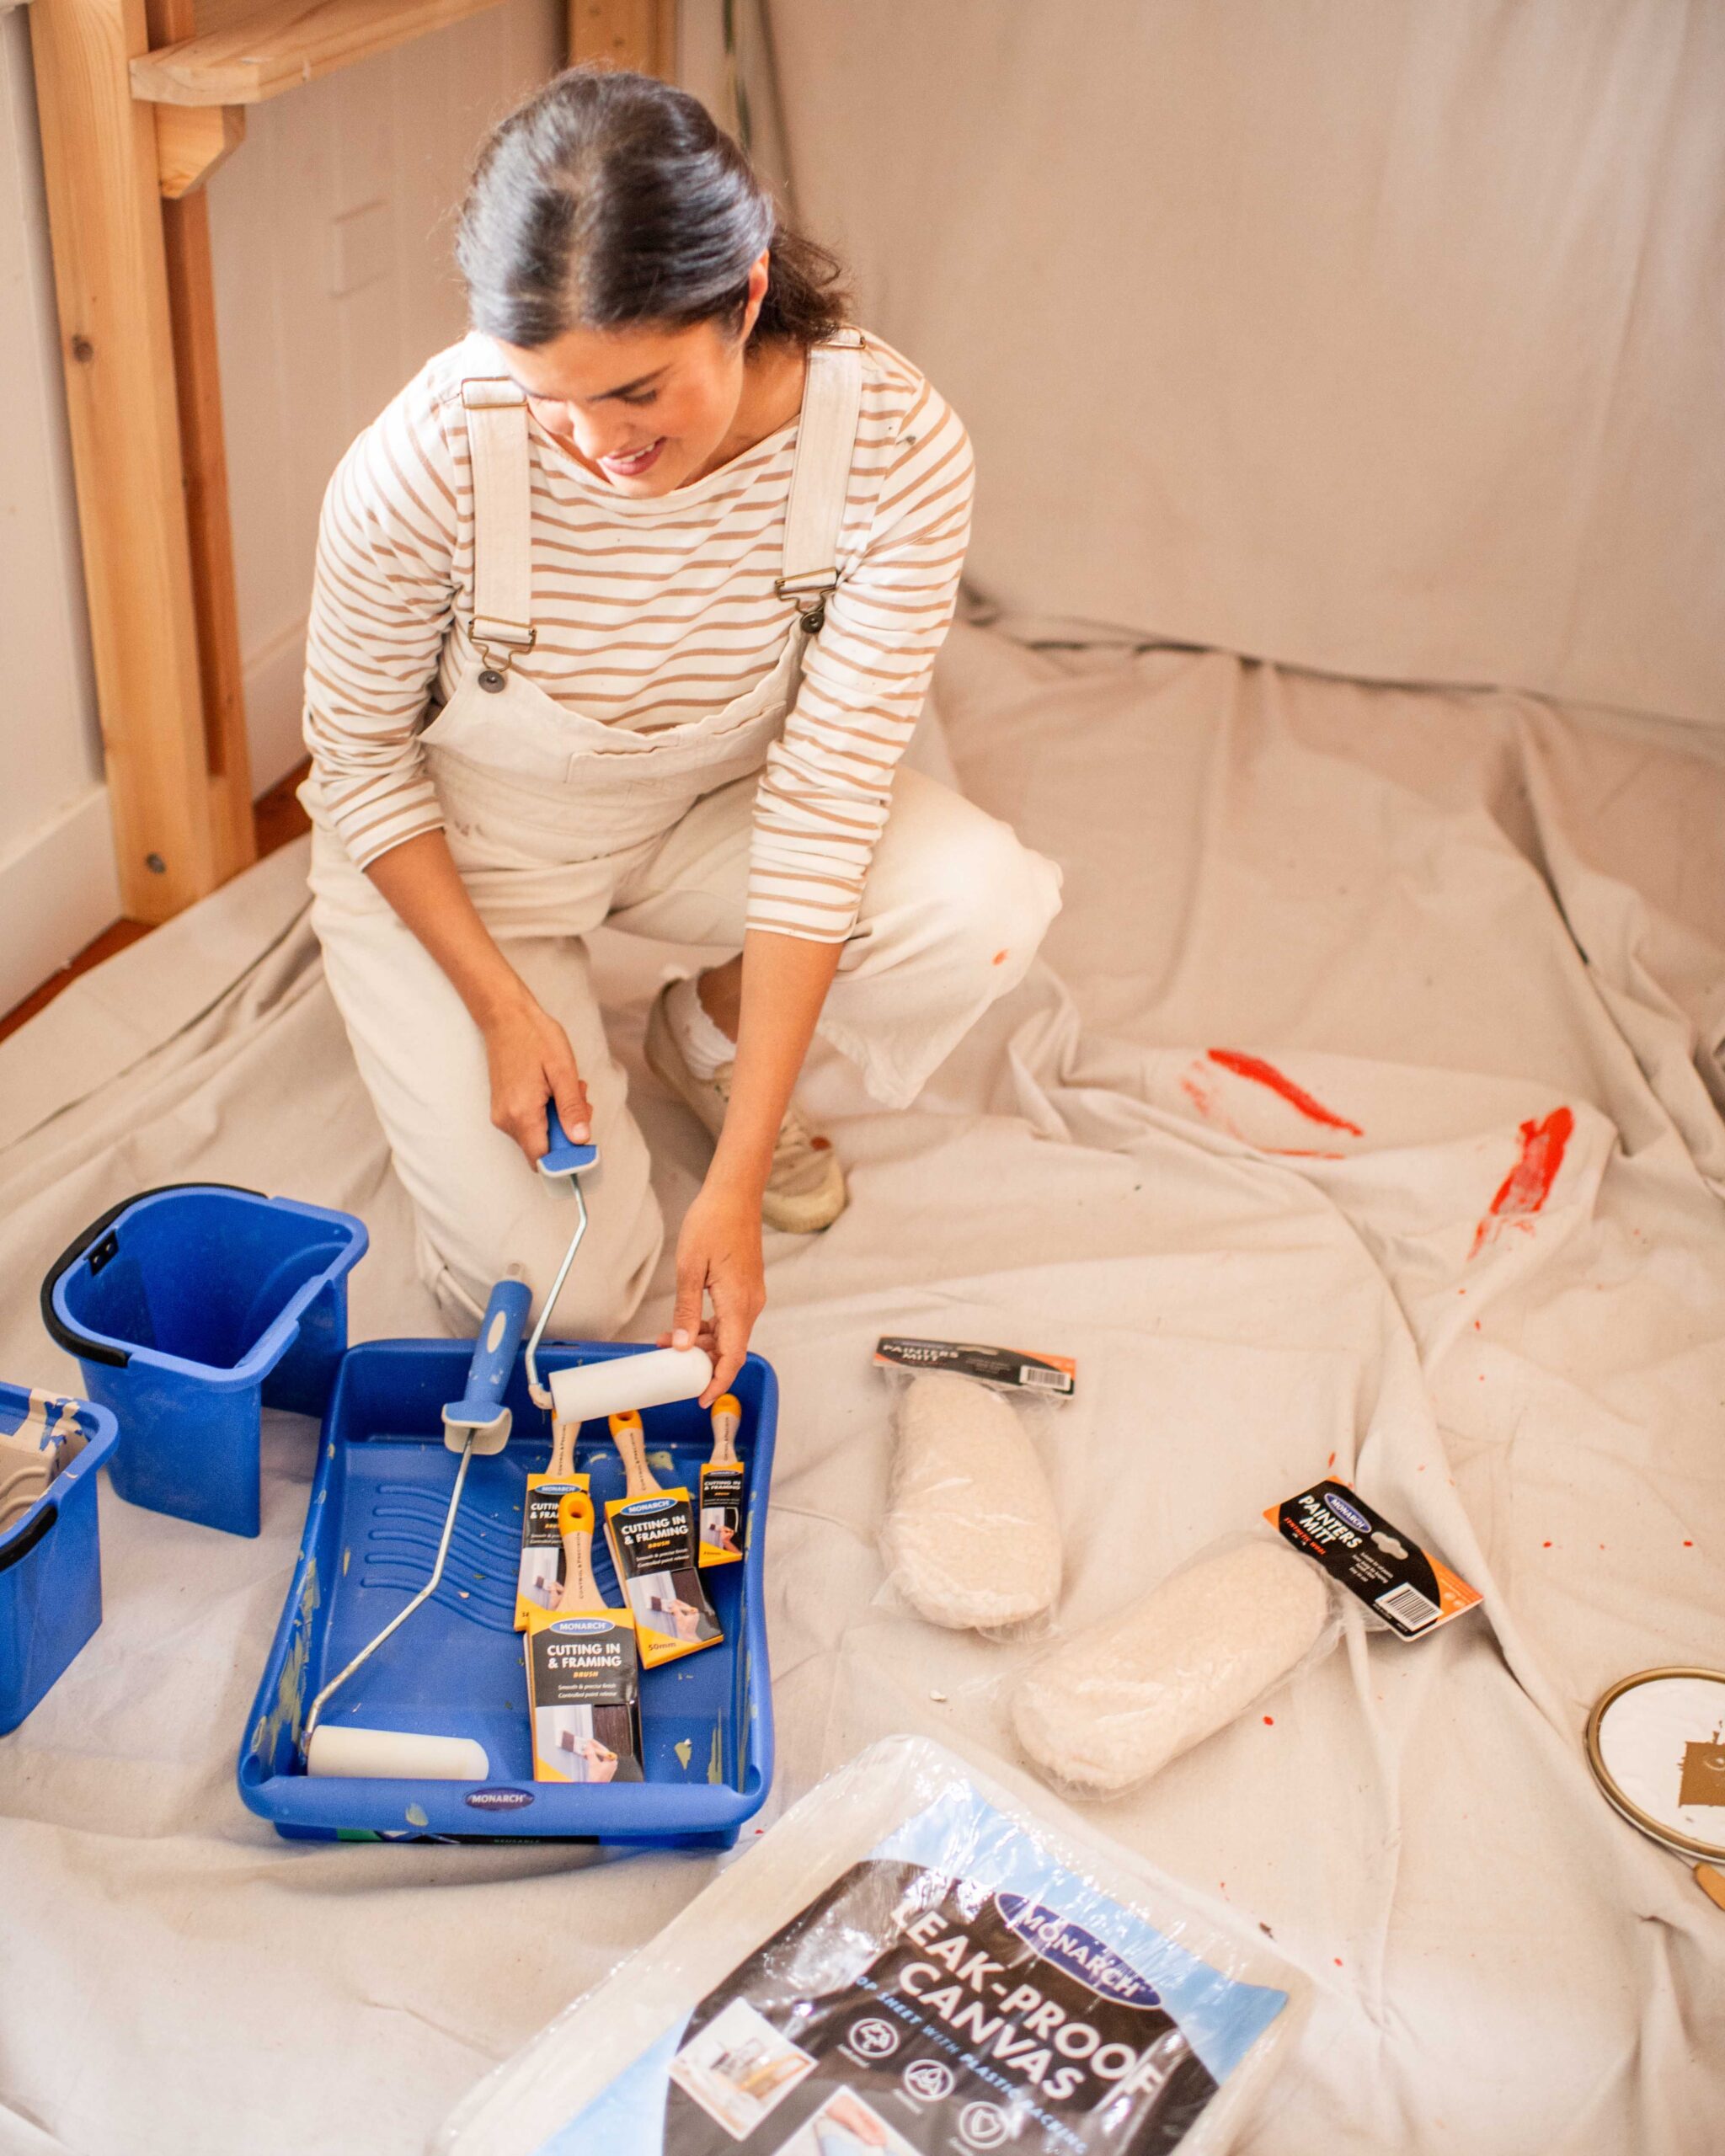
- Timber Bunk Beds
- Monarch Cutting In & Framing Brush
- Monarch Paint Tray
- Monarch Leak Proof Canvas Drop Sheet
- Monarch Painters Bucket
- Monarch Painters Mitt
- Monarch Mini Roller
- Paint/Primer
We have put together a step-by-step guide below, detailing everything you need to know to complete this project and recreate the look at home.
Step 1
Lay out your drop sheet.
Before she commenced the project, Geneva noticed that there were some decorative stickers that her daughter has stuck onto the bunk beds.
She made sure she peeled them off and gave the surface a light sand. By doing this, the paint will apply better and give you that perfect finish.
Step 2
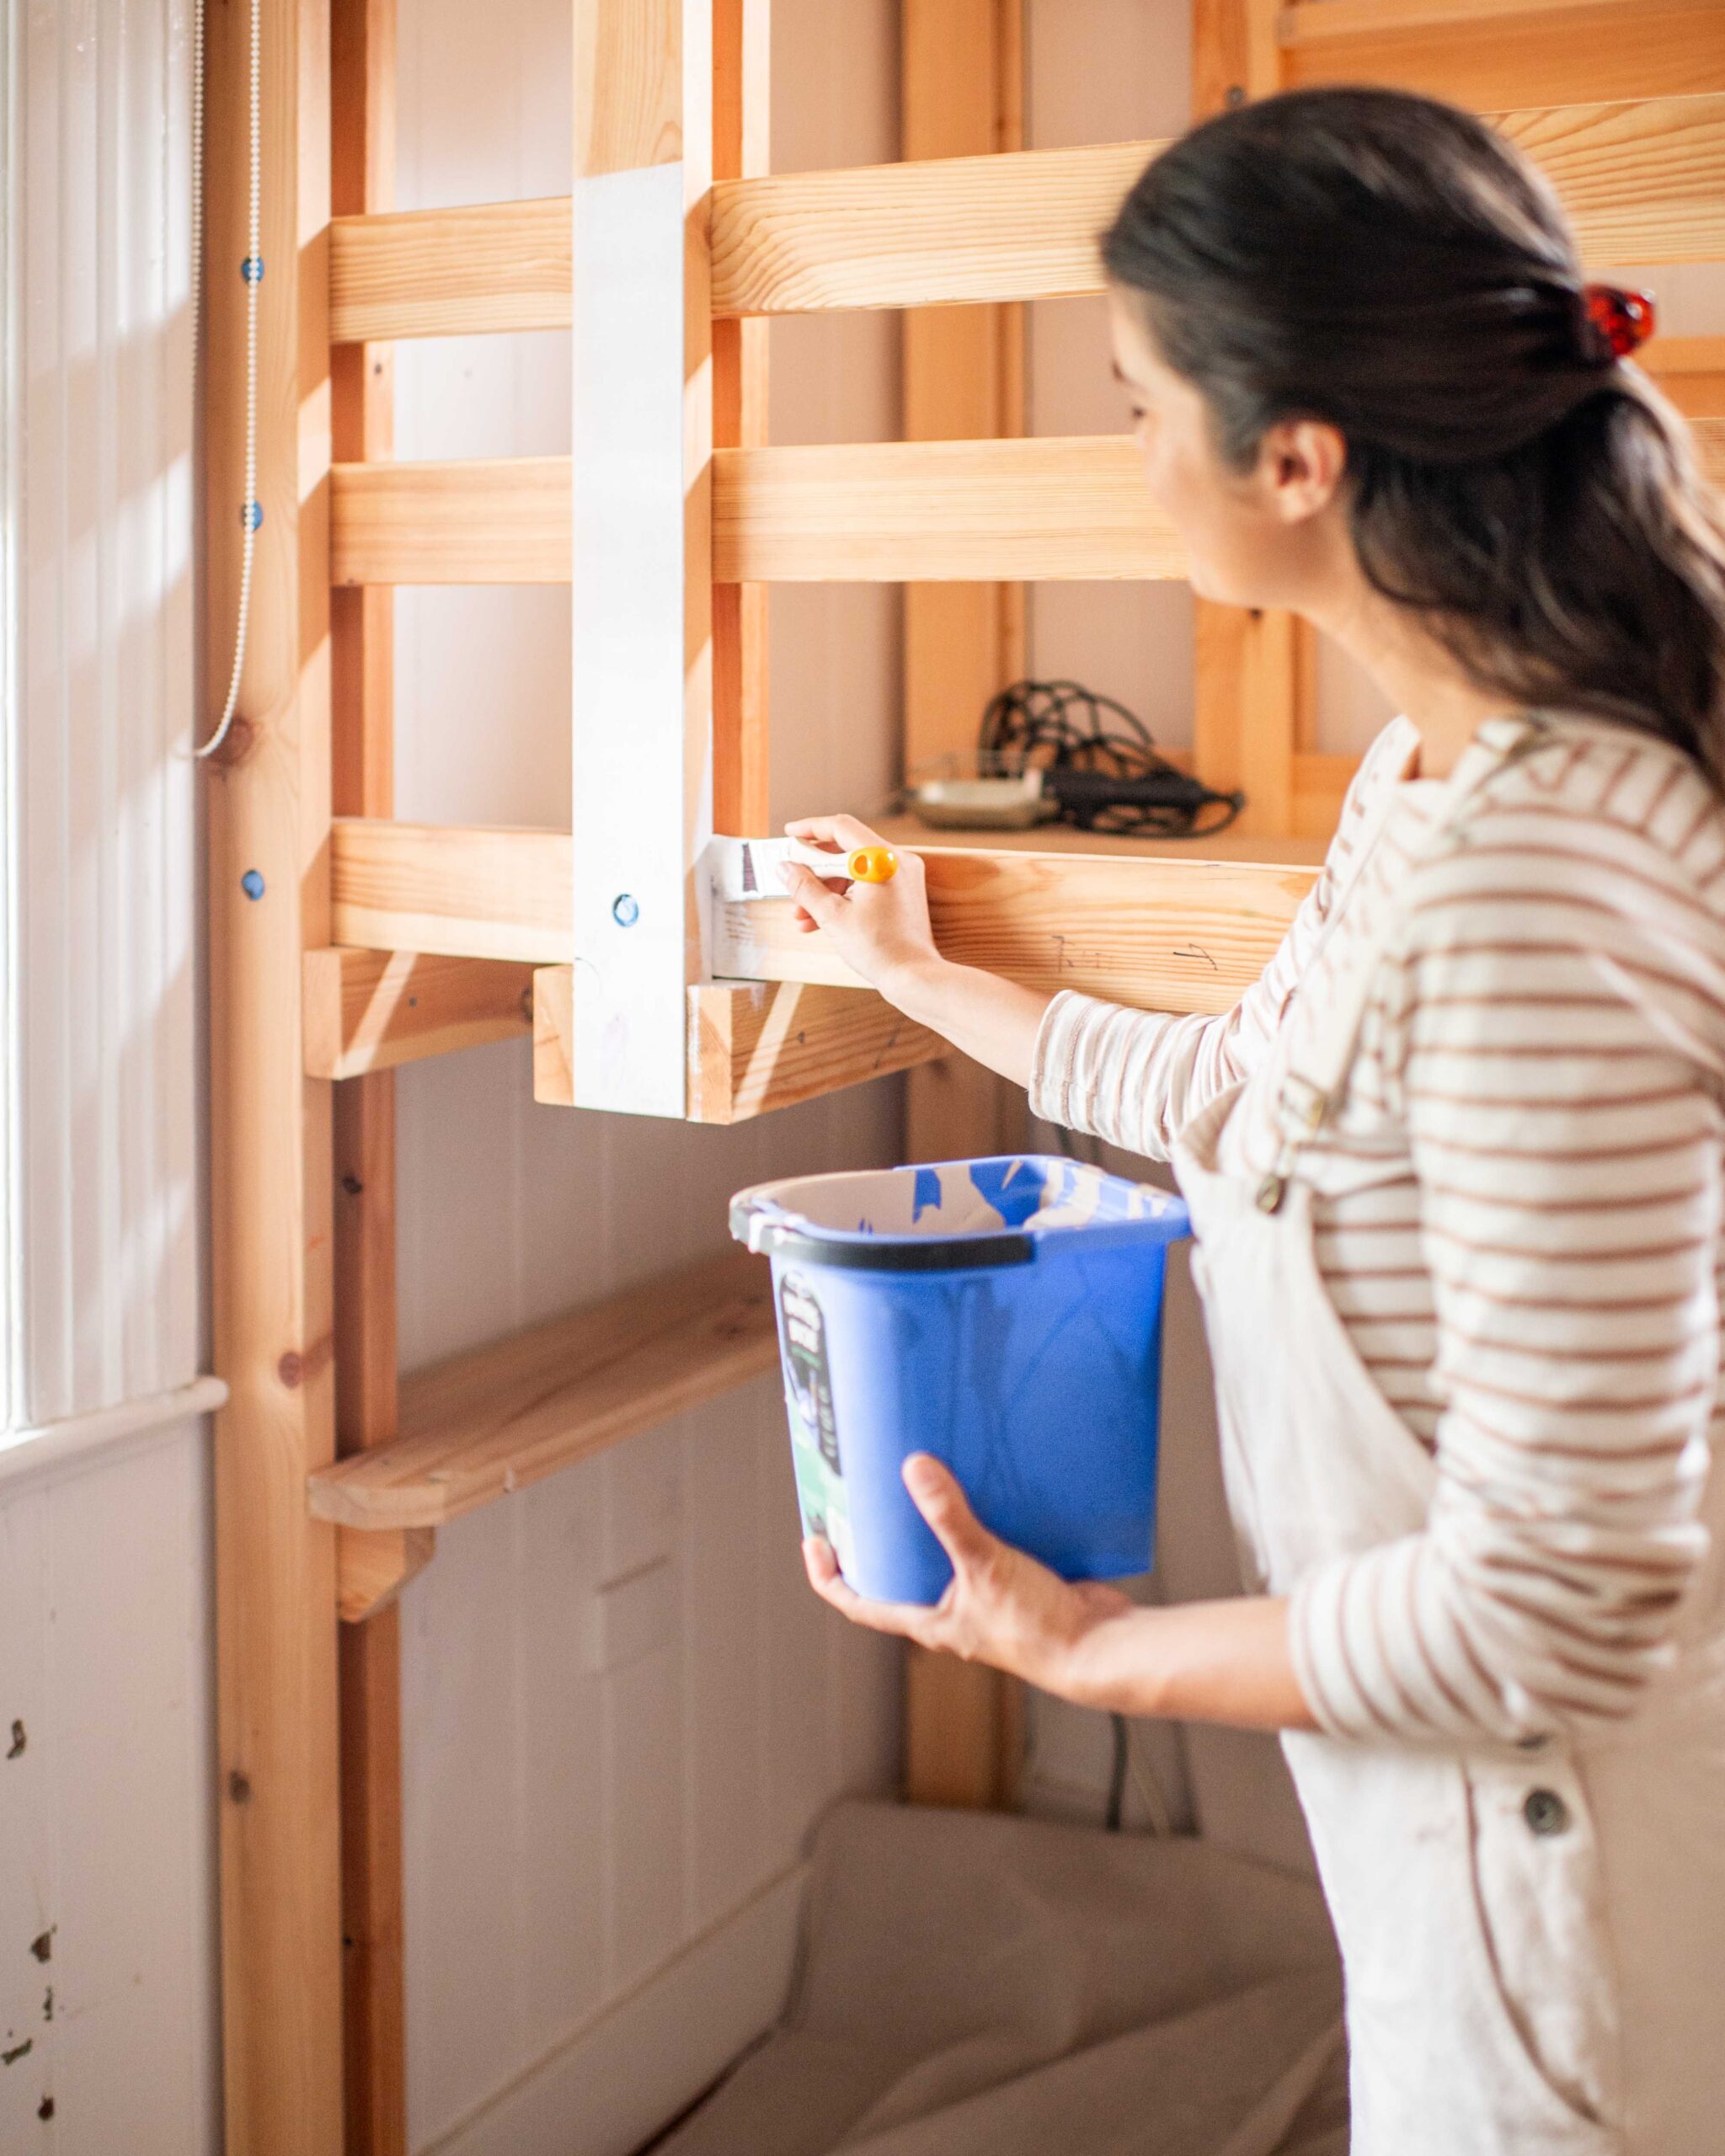
Paint the whole surface with primer.
Use your brush for edging corners and getting into tighter areas.
Grab your mini roller and go over the flat sections.
Optional: Run your hand over the painted surface with a Painters Mitt to smooth everything out.
Step 3
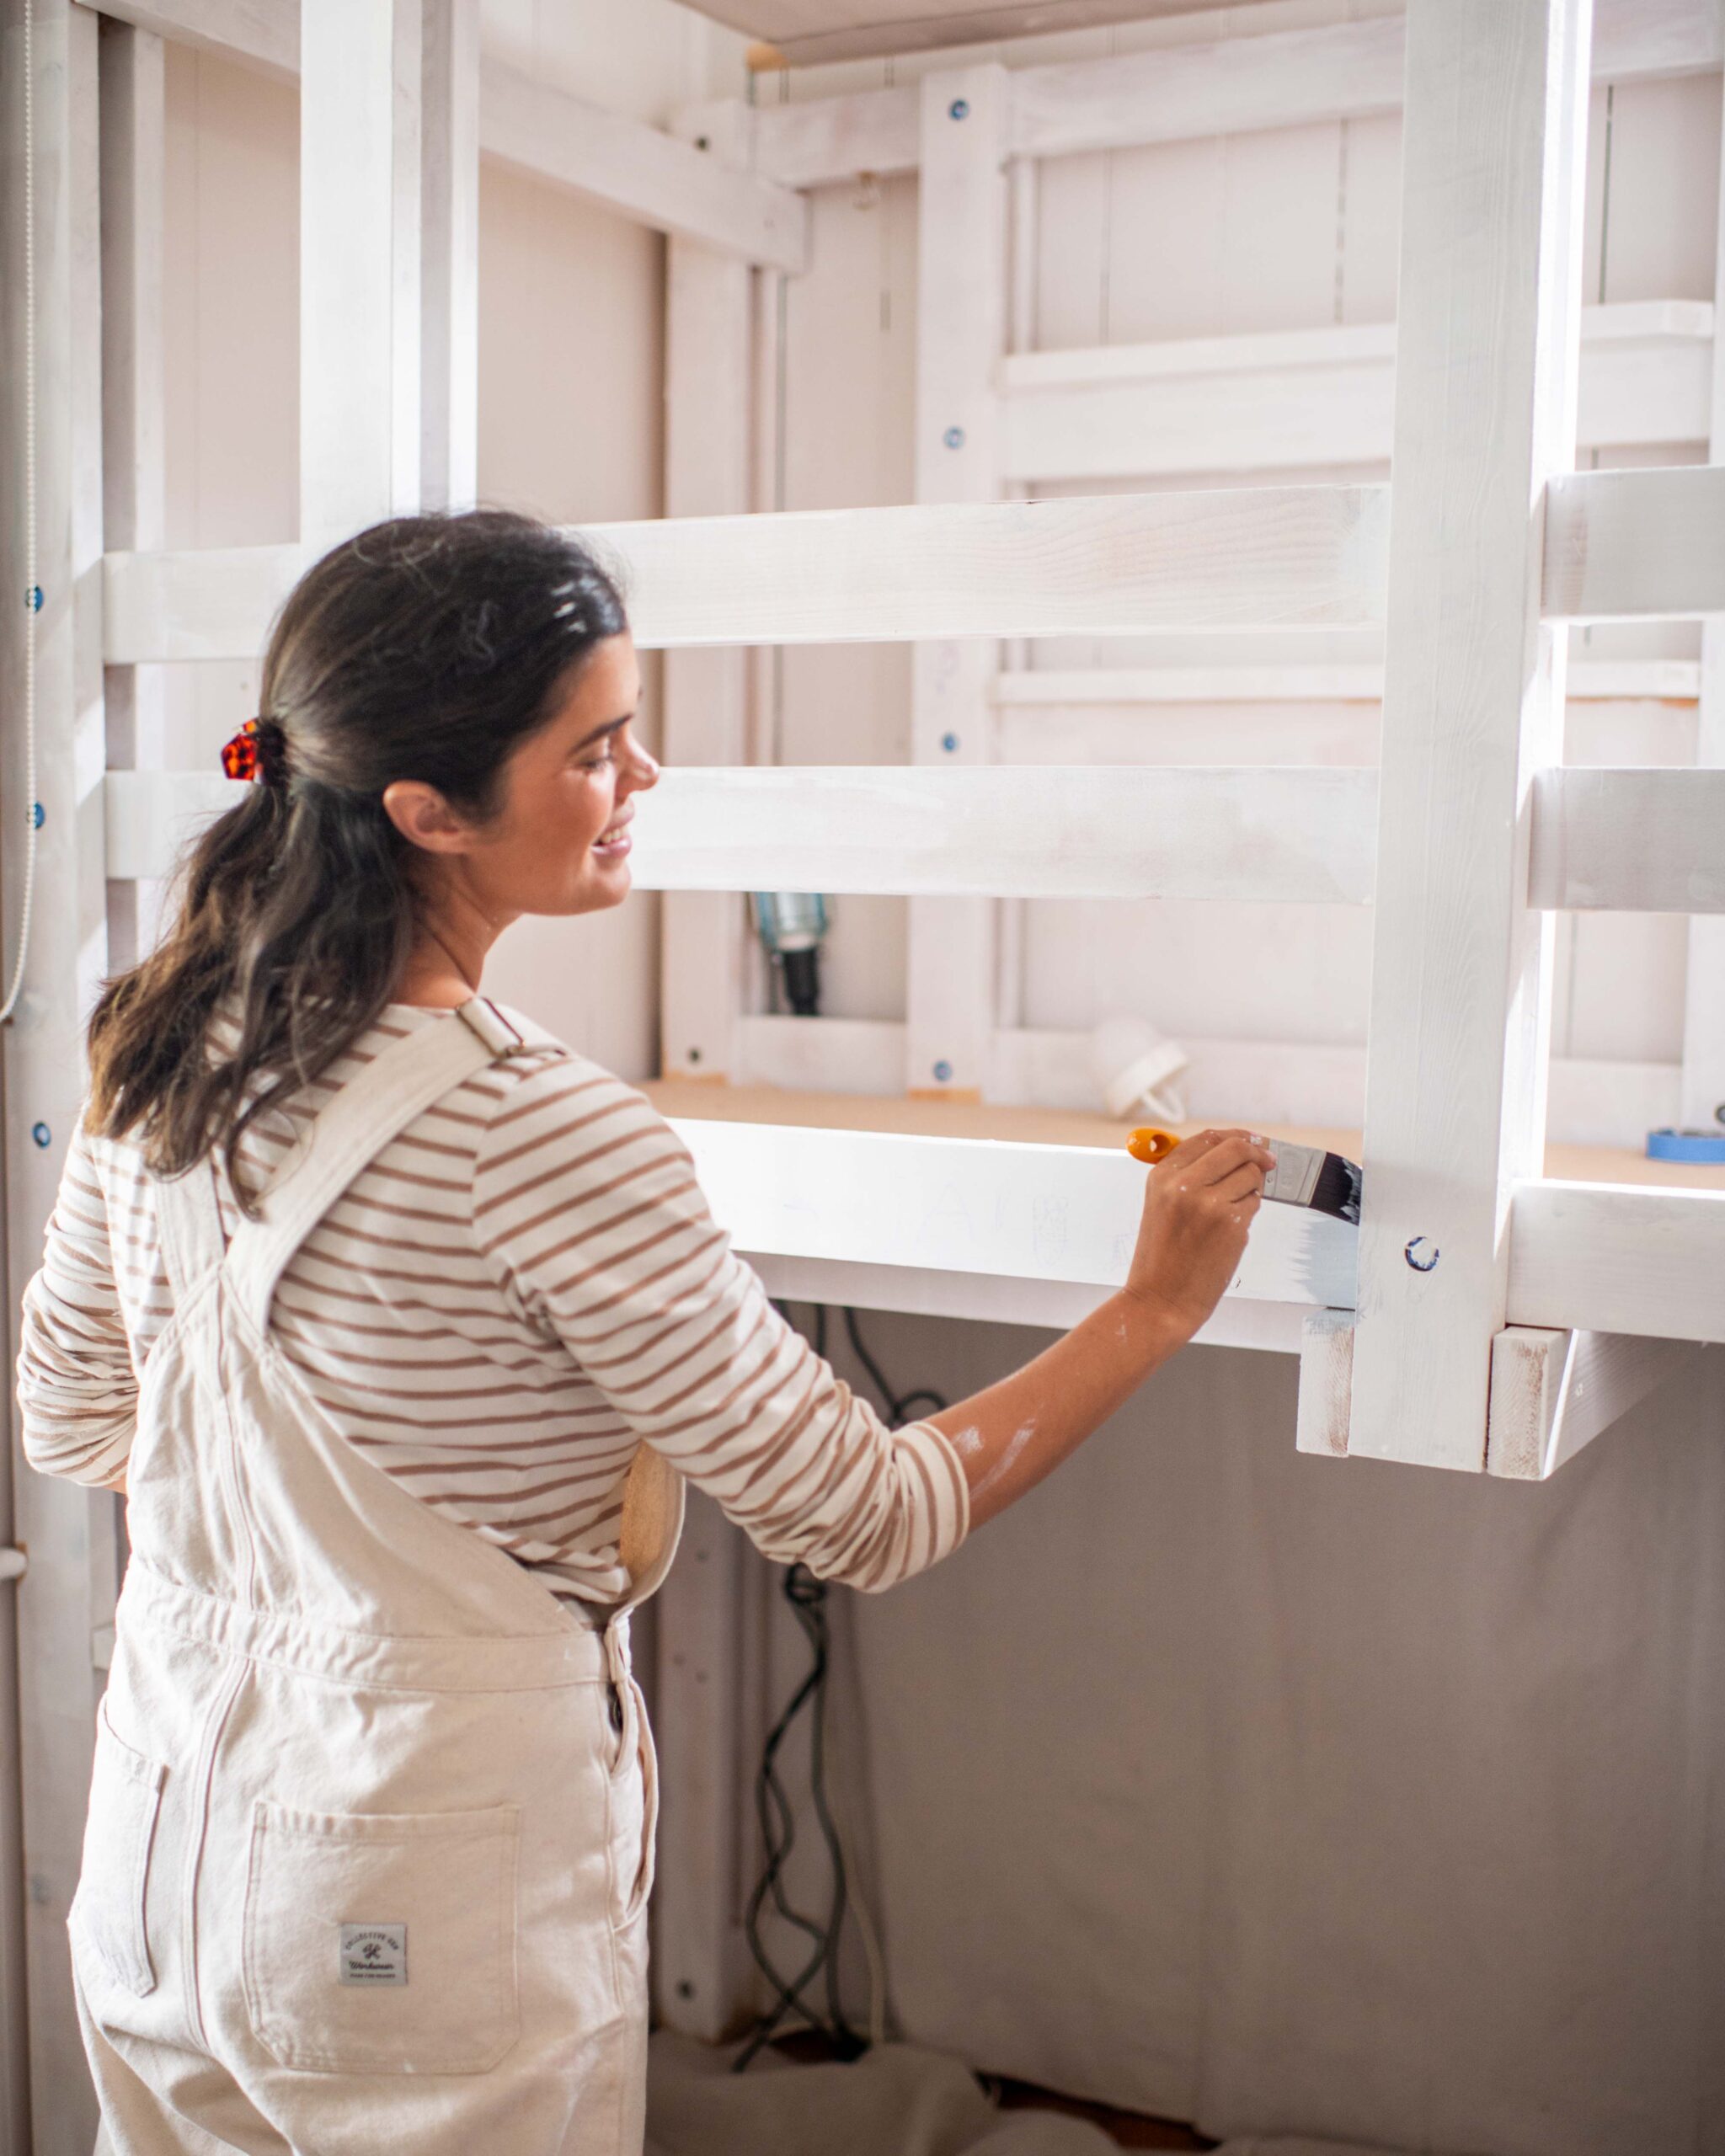
Choose your paint colour and apply the paint over the primer.
Allow the paint to dry. Refer to your paint tin for the recommended drying time.
Repeat this process when applying the second coat.
Step 4
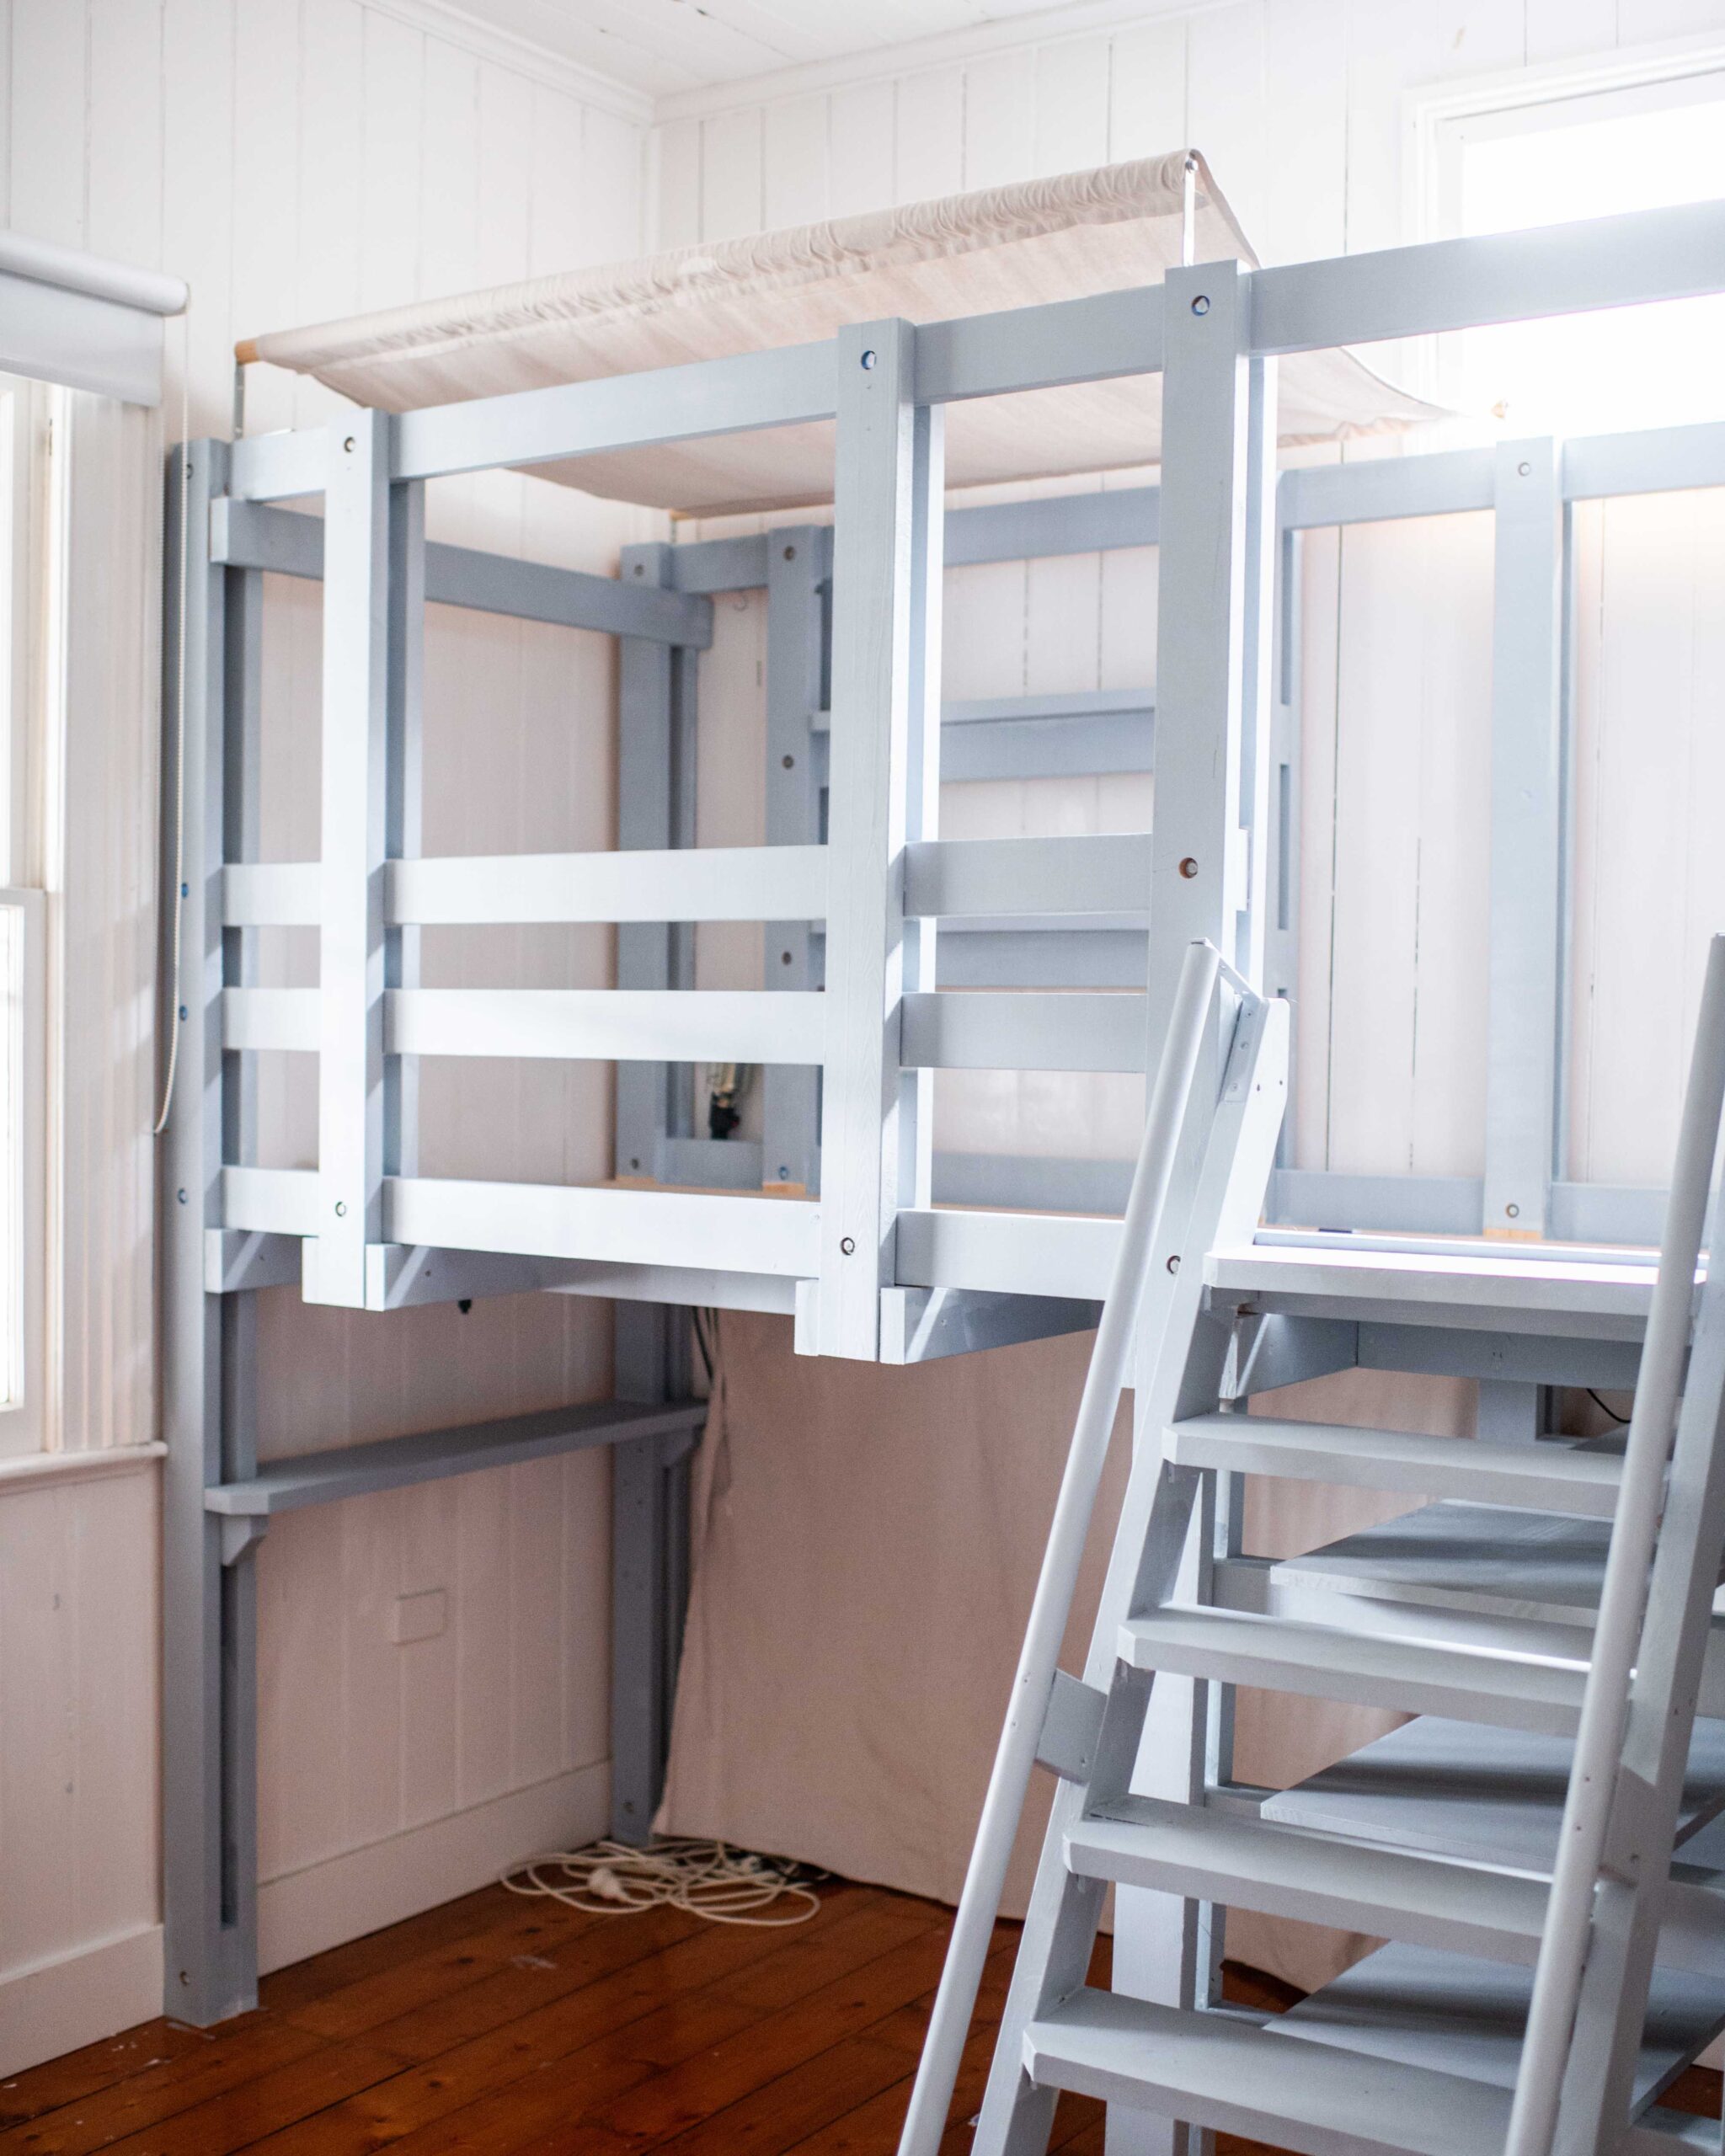
There you have it! A great makeover project that the whole family can get enjoy.
For advice on how to select the perfect paint accessory for your next DIY July project, take a look at our Painting Tool Kit and discover a bunch of painting tips, tricks and inspiration by following us on Instagram, TikTok and Facebook.

